

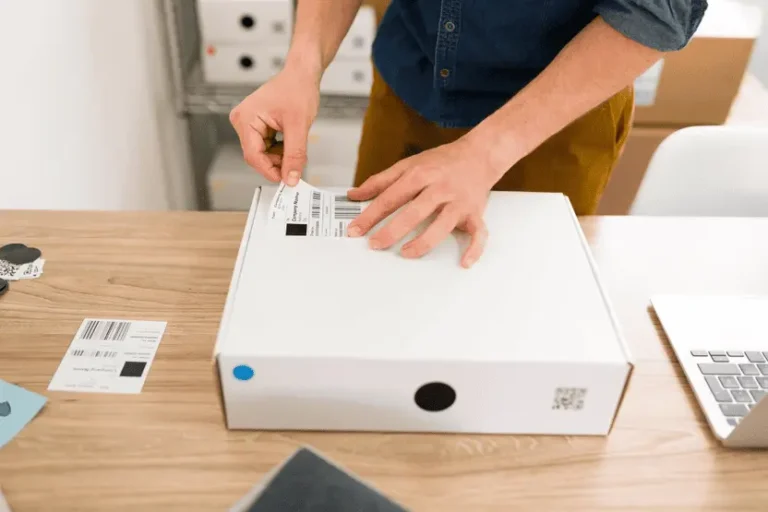
Making custom packaging is not about picking a box shape and putting a logo on it. The design has to protect the product, the artwork has to fit within the printable area, and the final product has to reflect the brand’s identity. CEFBox brings together parts of this process, helping companies move from an initial packaging idea toward a design ready for production.
With over 300 box designs available, along with online design and project management tools, CEFBox offers users a starting point for exploring packaging options. If you are new to CEFBox, the following guide explains how to go from choosing a shape to viewing a model and getting ready to place an order.
1. Start With the Product and Packaging Needs
Before opening a design tool, take a moment to understand what the package needs to do. Think about the product’s size, weight, shape, and fragility. Think about how it will be stored, sent, displayed, or given to customers.
Some basic questions can help you figure out what you need:
- Does the product need a mailer, folding carton, sleeve, or another type of box?
- Will the package have one item or several parts?
- Does it need a piece inside to hold the product in place?
- Will customers see the inside of the package when they open it?
- Are there branding or finishing needs?
Having these details ready makes it easier to choose a design and reduces the chance of making changes later.
2. Look at the Available Box Designs
Once you understand the product’s needs, look at the box designs CEFBox offers. Its collection includes more than 300 box designs, offering users a variety of starting points for packaging projects.
You can start by looking at the packaging dielines. A die line fold shows the shape of a package, including the different parts, where it folds, and where it is cut. It helps show how a design will look before the material is folded into the box.
Do not pick a design just because it looks good in a picture. Check whether the design works for the product and how the package is meant to be used. For example, a mailer might be good for shipping, while a folding carton might be better for showing in a store.
If you are unsure about the design or size, ask for help before creating the artwork. The team that makes the package should check that the design is right for making the box.
3. Set the Size and Choose the Material
The next step is to consider the package size and the material to use. Correct measurements are important because even a design that looks good can cause problems if the product does not fit right.
Measure the product carefully, including any parts or padding that will go inside the box. Allow some space where needed. Do not make the box too big.
Choosing the material also affects the final product. For example, corrugated boxes may be suitable when shipping requires protection, while paperboard may be better for retail packaging. The best choice depends on the product, how it is handled, and the look you want to achieve.
Before continuing, check the size, material, and design details with CEFBox when needed. This is especially important for shapes, extra pieces, or special setups.
4. Make Your Design Online
After choosing a design, move to the online design part. CEFBox has a design tool that lets users work on packaging artwork through the website.
You can start with what you already have, such as a logo, product name, colors, images, and written content. Place these things on the parts of the box. A logo that looks good on the front might need to be placed elsewhere when the box is folded.
The CEFBox design tool is where you can start working on your packaging idea. As you build the design, keep these points in mind:
1. Use high-quality images and artwork.
2. Keep text away from where the box is cut or folded.
3. Make sure the text and background have a difference in color.
4. Check that logos and product details can be read easily at the size they will be.
5. Look at each part of the box, not just the front.
If you already have artwork from a designer, use the upload or file-preparation method for your project. Always check the file requirements before sending the artwork.
5. Look at the Model Before Saying It Is Right
A model helps you see how the flat artwork might look on the box. It is good for checking the look, colors, and placement of design elements.
Look at the box from all sides. Check the front, sides, top, and any parts visible from the inside. Make sure the artwork does not look out of place near the folds or the seams. Also, consider how the box looks when opened; this is especially important if the unboxing experience matters to your customers.
A model is a way to look at the design, not a way to say it is ready to be made. What you see on the screen might not match the actual package. Because of that, make sure to talk to the company that makes the package before placing an order.
6. Think About Special Details and Extra Parts
Once the main design is set, consider whether extra details or special parts would enhance the package. Depending on the product, what is available, layers, and features like shiny parts, raised patterns, clear layers, or extra pieces can be worth considering.
These choices should help the package do its job, not just look nice. For example, a shiny logo might help a brand stand out, while an extra piece might help hold the product in place.
Keep the design simple. Too many special details can make the artwork look too busy, and some features might need changes in the design file. Make sure you know what is possible, how much it costs, and what is needed before treating a detail as part of the final plan.
7. Keep All the Project Details in Order
Packaging projects often involve choices: size, materials, artwork variations, and special details and notes for making the package. CEFBox’s project management tools can help people keep track of their work as it evolves.
Keep the artwork and all project information together, and make sure everyone viewing it is using the same version. If a change is made after a model has been checked, update the project information and check the design again.
Before saying the project is ready, make sure:
- The box shape and size are correct.
- The material and special details are chosen.
- The most recent version of the artwork is used.
- All logos, images, and text are in the right place.
- Any extra pieces or other parts are included.
- The final details for making the package are
Clear communication at this point can help avoid delays and mistakes.
8. Go From the Final Design to the Real Box
The last step is getting the design ready for making the package. A digital model shows what the package should look like. The real package comes from printing, cutting, folding, and finishing the right material.
Before making the box, make sure the design and the shape have been checked for what is needed to make it. Ask for help if anything is unclear, especially when there are sizes, specific details, or complex shapes. If a real sample or test is available for your project, reviewing it can give you another chance to check everything before making a decision.
Once everything is confirmed, go through the steps to get a price and place an order. Keep in mind that it can take time to make the box depending on the type, how many you want, the special details, and where it is going.
Turn a Packaging Idea Into a Package That Can Be Made
Using CEFBox is not about putting pictures in a box. It is about choosing a shape that works, setting the size, creating a design that is clear when viewed on a model, and making sure everything is ready to produce the real package. Every step helps create the look of the package.
Starting with the product’s needs and checking every choice you make along the way can make the whole process easier to handle. With its online design tools and project management features, CEFBox gives companies a place to develop their packaging ideas and take the next steps toward a real package.
Also Read
- 141-forest-pickup-lines-that-are-wildly-flirty-cute-and-smoothly-romantic-2026/
- /how-roofing-companies-coordinate-large-projects-without-delays/
- primelunoltd-com-review-the-security-of-your-personal-and-financial-information/

